If you’re thinking about installing new floors in your Cape Cod home, you may be weighing the potential savings of a DIY project against the cost of hiring professionals. Maybe you’ve already watched a few videos, found a rental for tools, and are looking at saving thousands of dollars in labor. But it can’t be that simple, can it?
We put together a list of the most common mistakes for DIY floors in Cape Cod, so you know what you’re up against before you spend a dime.
Let's walk through the most common mistakes we see homeowners make with DIY carpet, hardwood, and luxury vinyl. We’ll consider what goes wrong, why it happens, and how professionals avoid the problems.
Prefer to trust your project with local professionals? Our team at Floor Coverings International of Cape Cod, MA® has seen nearly every challenge Cape Cod homes bring, and we know exactly how to fix it.
Schedule An In-Home Consultation
Local Challenges for DIYing Your Floors
Before we get into DIY mistakes, let’s consider some local conditions that can impact your floors. For instance, we don’t advise taking materials from climate-controlled big-box stores and directly installing them in a home that cycles through humidity changes, from damp springs to dry, heated winters. Professionals take time to prepare the materials for the change to prevent swelling and buckling.
These are few common challenges for DIYing flooring in Cape Cod:
- Humidity and coastal moisture that warps floors that aren’t properly acclimated.
- Open crawlspaces that allow moisture to work up through the floors can weaken adhesives and lead to more serious moisture damage trapped under the flooring.
- Older homes with settled foundations and uneven floors. Many materials need perfectly level subfloors to avoid cracked tile, broken locking systems, and literally feeling the dips and rises through the floor
Common Mistakes with Carpet
On the surface, carpet may seem like an approachable project. It’s soft, forgiving, and doesn’t require precise cutting like tile or meticulous fastening like hardwood. You can roll the material out, trim the edges, and tack it down. However, what looks like a simple job involves specialized tools and careful stretching to prevent lumpy, wrinkled, or frayed floors.
These are some ways Cape Cod homeowners make mistakes in DIY carpet flooring projects:
Wrinkling
Wrinkling is perhaps the most common and visible sign of a DIY carpet job gone wrong. When a carpet isn’t stretched and secured properly, it will wrinkle and buckle over time.
This creates:
- An eyesore.
- A tripping hazard.
- A disappointing home renovation.
To prevent the issue, professional carpet installers use a power stretcher to pull the carpet taut from wall to wall. The knee kicker homeowners sometimes rent doesn’t give the same tension.
Seams
Another mistake we often see with DIY installed carpets are seams that fray, separate, or become a ridge. This typically happens when the seam is:
- Poorly cut.
- Not properly aligned.
- Not sealed correctly.
Professionals cut along the weave or tufting line of the carpet to ensure the edges can be butted together seamlessly. We also plan seams strategically to avoid high traffic areas where it might wear prematurely or magnify an imperfection.
Subfloor Missteps
While it’s true of any flooring project, with carpet installation it’s important to start with a clean, dry, and level subfloor because a single bump, a few stray staples, or a patch of old adhesive can be felt through the carpet and padding.
A few subfloor mistakes that can affect your beautiful, carpeted floor are forgetting to deal with:
- Trapped moisture that can lead to mold or mildew in the carpet fibers.
- Uneven subfloors which can involve bumps, dips, or squeaking.
- Poor cleaning which could leave a clump of old adhesive to add unwanted texture to your floors.
Regular Missteps with Hardwood
Hardwood is a significant financial investment, and for many Cape Cod homeowners, taking on the installation themselves can be tempting since it saves in labor costs. Maybe the process looks easy enough, but a single misstep during installation, whether it’s a nail driven too deep, a board cut a fraction of an inch too short, or a row laid slightly out of square can affect the entire floor. Unlike carpet or vinyl, where mistakes can sometimes be hidden or patched, slipups with hardwood stand out and are expensive to correct.
These are the most common DIY wood floor installation mistakes:
Acclimation
Wood expands and contracts with temperature and humidity changes. If you were to take a wood plank straight from a warehouse in a cold, dry climate and nail it down in your humid Cape Cod living room, the wood is likely to warp as it acclimates.
You'll notice:
- Cupping, where the wood curls up at the edge.
- Crowning, where the edges curl down.
- Gaps between boards.
How do professionals handle it? We bring the unopened boxes of hardwood into the room where it will be installed and let it sit for at least 72 hours, sometimes longer. This method allows the wood’s moisture content to equalize with your home’s humidity.
Subfloor Preparation
Since it will be covered by the finished floors anyway, many DIY installers give the subfloor less attention than they should. The subfloor is the structural foundation that determines how your hardwood will perform for decades. Imperfections can create stress points that lead to squeaking, shifting, and premature joint failure.
Some common areas amateur installers make mistakes are dealing with:
- Uneven surfaces that can create hollow springy areas.
- Loose panels that make the floors squeak. To avoid this, ensure the subfloor is securely fastened.
- Excess moisture that requires moisture testing and a moisture barrier to protect the wood floors.
Racking and Layout
Hardwood's beautiful grain patterns and rich color variations are a few things Cape Cod homeowners love. But that stunning character can also work against you. DIYers commonly pull planks out of the boxes and lay them without considering how the colors and grain patterns will interact. This often results in:
- Grain clusters with knotted wood grouped together, dark boards clumped in one corner, and light boards dominating most of the room.
- Failing to randomize lengths and creating a diagonal stair step or H joint effect.
- Poor joint patterns with joints that are too close row-to-row makes a weak point in the floors.
Professionals take planks out of different boxes, mix them, and lay the boards out to get a sense of the color and grain variation and plan a layout that prevents awkward skinning cuts along the wall or out of square transitions.
Common Pitfalls Installing Luxury Vinyl
There's a common misconception that because luxury vinyl is a floating floor, the installation is essentially snapping pieces together like a puzzle. While the click-lock mechanism is user-friendly, it’s not so easy to get a professional looking finish.
Here are the most common DIY vinyl floor installation mistakes:
Subfloor Prep Work
This misstep is so common, it bears repeating: It’s important to make sure the subfloor is clean, dry, and level. If the foundation isn’t properly prepared, you may:
- Trap moisture below the floors where mold can start.
- Have low and high spots that put stress on the joints and eventually break the locking system.
- Feel the imperfections through the floor.
Neglecting Expansion Gap
While it moves less than hardwood, vinyl still expands and contracts with temperature changes. Installing the planks too close to the wall can cause buckling and lifting. The best way to avoid this is to include an expansion of ¼ inch to 3/8 inch around the room perimeter, allowing the floors to breathe.
Planning Pattern Layout
Vinyl is designed to look like wood, but it only has a certain number of repeated grain patterns. If you grab randomly from a box, you risk placing two identical pieces side by side, which can make the floors look cheap and artificial.
Instead, mix the planks to avoid obvious repeats and stagger the end joints from row to row. A straight joint across the floors looks unprofessional, and it also creates a weak point in the floor’s structure.
Is It Worth DIYing Your Floors?
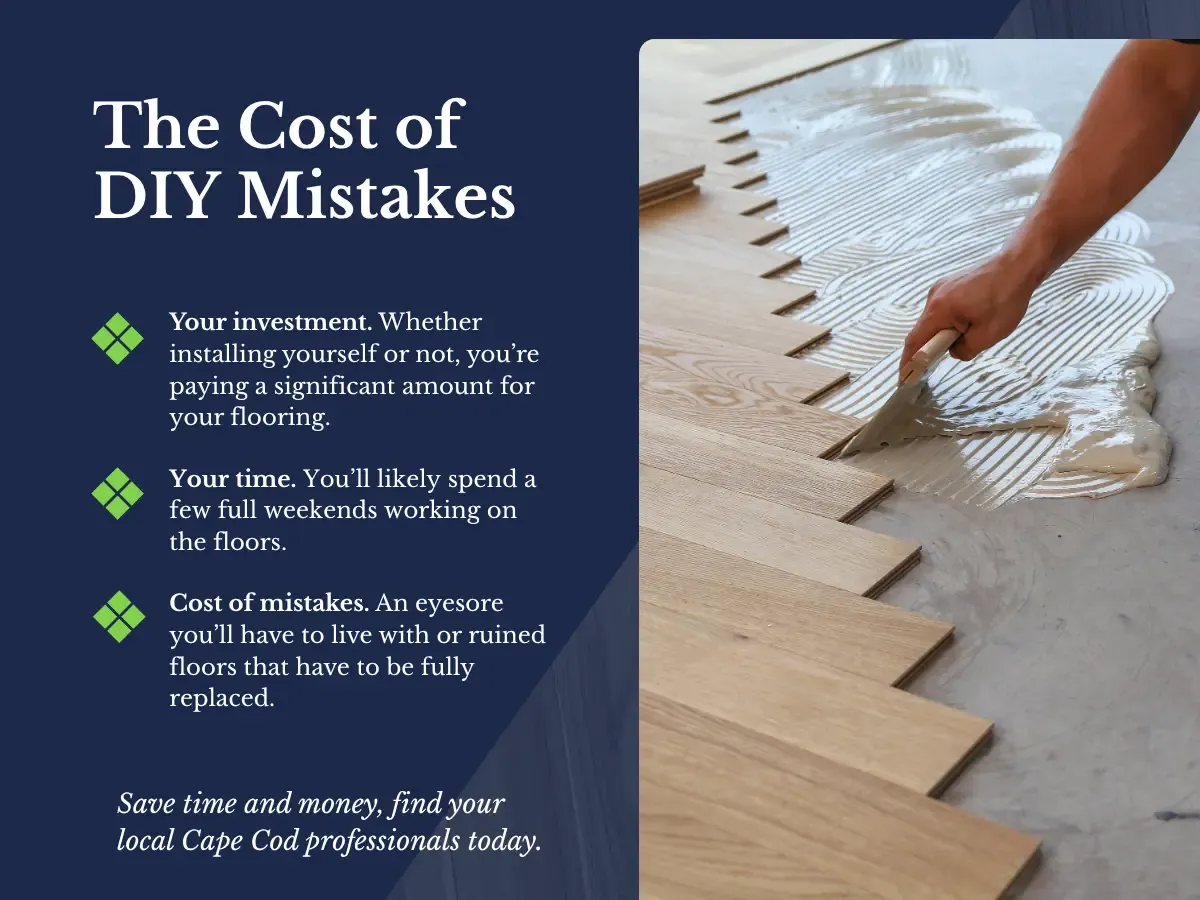
Now it’s time to evaluate, is the time and effort you put into installing your own floors worth the savings of not paying for installation labor? First, we’ll look at your investment, the value of your time, and the potential cost common mistakes DIY flooring installation plans can have:
- Your investment. Whether you install it yourself or not, you’re paying a significant amount for your flooring.
- Your time. Depending on the size of the project, you’ll likely spend a few full weekends working on the floors.
- Cost of mistakes. This can range anywhere from an eyesore you’ll have to live with to ruined floors that have to be fully replaced.
In the end, is it worth it? If you’re confident in your skills and thoroughly prepared, a DIY project can be incredibly rewarding. But if you have any doubts, a local professional who understands our local conditions, like our skilled team, can save you from making a costly, frustrating mistake.
Ready for a Seamless Finish?
At the end of the day, the decision to install your own floors comes down to an honest assessment of your skills, patience, and willingness to learn the nuances of each material.
However, if you prefer to trust your investment with local professionals, our team at Floor Coverings International of Cape Cod, MA® installs all kinds of beautiful flooring for Cape Cod homes.
Give us a call at (774) 228-5527 or book your free in-home consultation to get started.